Track your personal tasks with the help of Docker and Kanboard!
by Zois Roupas
Track your personal tasks by using Kanboard and Nginx-Proxy docker containers.
Summary
Hey everyone!
If you are a person that cannot operate unless you write down to a paper or add a reminder or use one of the thousand different tools around the web to track your task, then you landed in the correct place!
I’ve been struggling for years to keep my notes (and this is another project on it’s own) and personal tasks in one place.
Some time ago, I stumbled upon an open source project called Kanboard and I have been using this awesome tool for some months now in order to track different tasks , engineering or daily ones.
So, let’s dive into the agile world!
Background
Kanboard is an Kanban open source project management software! You can see how it looks in Picture 1 below.
Long story short, Kanban is an agile project management tool designed to help us visualize our tasks making it easier to establish an order, create a flow and most importantly understand the amount of work that we are planning to do!
Picture 1
If you are unfamiliar with terms like agile, scrum or kanban don’t be discouraged, you can start here.
Concept
As you may have seen already in one of my latest guides, on creating a MariaDB database host via docker found here , I wanted to have a single database that can host different projects. And one of them was Kanboard, so db wise, we are almost ready! 🚀
While configuring Kanboard though and because other projects are pending in line, it seemed to me that having to access different services from different published ports would slow me down and add overhead trying to check or remember which port is connected with which service.
So I thought that it would be better in the long run to have an nginx proxy to handle the requests and redirect them to appropriate services based on different ports.
In that way I could also use my local SSL Certificate Authority and enable SSL termination instead of plain http.
You can check this great post if you have doubts on why it’s a good idea to use a reverse proxy infront of your containers!
Configuration
Following my networking setup decision described in my previous article, I decided to assign the two new images in my custom network called customnetwork.
nginx-proxy
Now before running the command that will create our nginx-proxy container, need to prepare a bit the folders and files that nginx will need in order to redirect traffic to requested service based on the port.
Below folder paths/names can be different and will be created on our host machine where docker is gonna be running:
mkdir -p /docker_mounts/nginx-proxy/{html,conf.d,ssl,logs}For now I will mainly focus to folders that are necessary in this setup and especially to the conf.d and ssl. The other two ones are optional and good to have but it depends on your need and setup.
- /docker_mounts/nginx-proxy/conf.d : this folder will hold the custom configuration that is needed for the traffic redirection.
- /docker_mounts/nginx-proxy/ssl : this folder will hold our custom ssl private authority files (have a look in this article to better understand or create your own local ssl private authority)
nginx-proxy custom.conf
Let’s copy our wildcard.homelab.home.* private authority files to the newly ssl created folder:
cp /tmp/wildcard.homelab.home.* /docker_mounts/nginx-proxy/sslFor our custom config, copy/paste the below block to /docker_mounts/nginx-proxy/conf.d/custom.conf
server {
        listen 80;
        return 301 https://$host$request_uri;
}

server {
        listen 443 ssl;
        server_name nginx-proxy.homelab.home;
        root /usr/share/nginx/html;

        ssl_certificate /etc/nginx/ssl/wildcard.homelab.home.crt;
        ssl_certificate_key /etc/nginx/ssl/wildcard.homelab.home.key;

        access_log      /var/log/nginx/nginx-proxy.homelab.home_ssl_access.log;
        error_log       /var/log/nginx/nginx-proxy.homelab.home_ssl_error.log;

        ssl_session_cache  builtin:1000  shared:SSL:50m;
        ssl_protocols  TLSv1 TLSv1.1 TLSv1.2;
        ssl_ciphers HIGH:!aNULL:!eNULL:!EXPORT:!CAMELLIA:!DES:!MD5:!PSK:!RC4;
        ssl_prefer_server_ciphers on;
}

server {
        listen 443 ssl;
        server_name kanboard.homelab.home;

        ssl_certificate /etc/nginx/ssl/wildcard.homelab.home.crt;
        ssl_certificate_key /etc/nginx/ssl/wildcard.homelab.home.key;

        access_log      /var/log/nginx/kanboard.homelab.home_ssl_access.log;
        error_log       /var/log/nginx/kanboard.homelab.home_ssl_error.log;

        ssl_session_cache  builtin:1000  shared:SSL:50m;
        ssl_protocols  TLSv1 TLSv1.1 TLSv1.2;
        ssl_ciphers HIGH:!aNULL:!eNULL:!EXPORT:!CAMELLIA:!DES:!MD5:!PSK:!RC4;
        ssl_prefer_server_ciphers on;

        location / {
      	proxy_set_header        Host $host;
      	proxy_set_header        X-Real-IP $remote_addr;
      	proxy_set_header        X-Forwarded-For $proxy_add_x_forwarded_for;
      	proxy_set_header        X-Forwarded-Proto $scheme;
      	proxy_pass              http://172.17.0.1:8081;
        }
}
Some major points to understand in the file above is that
- in the first line, we instruct our nginx that needs to redirect any traffic coming to port 80 , to port 443.
- in the ssl related lines, I use my custom wildcard.homelab.home.* private authority files which I have already copied to the folder that is going to be mounted between host and container
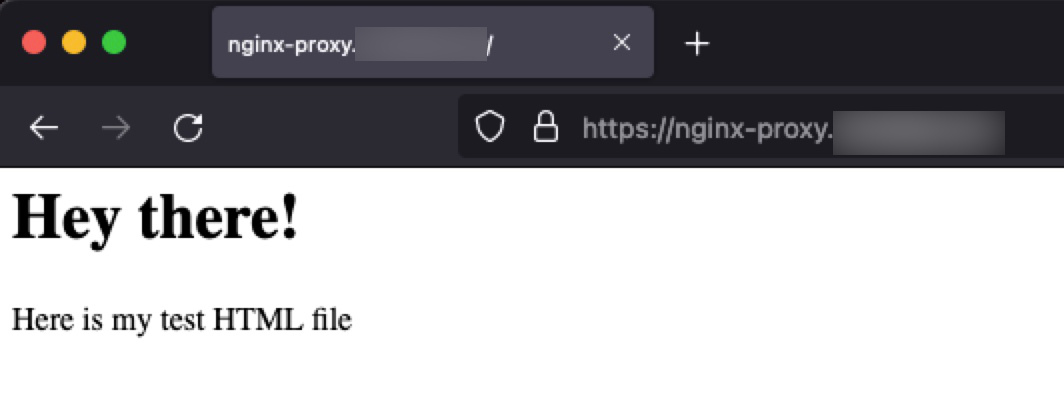
- nginx-proxy.homelab.home server section, is only relevant to make sure that our config proxy is working as expected before moving on to kanboard configuration. Add below lines in /docker_mounts/nginx-proxy/html/index.html
<h1>Hey there!</h1>
<p>Here is my test HTML file</p>- the actual line that tells our nginx where to send the traffic is mainly this one:
proxy_pass http://172.17.0.1:8081;
This will instruct nginx, to send traffic that comes tokanboard.homelab.homehost, to the the docker default bridge network IP and port 8081 (which for now doesn’t have any service behind it but will have when we get to the Kanboard section! 😉
Now, you may ask yourself why not use localhost instead of 172.17.0.1 (hint: run docker network inspect bridge to find the bridge IP) and this is due to the way networking is implemented in Docker Desktop for Mac (yeap, I know.. I know.. ), and the lack of a docker0 interface on the host. In a linux environment, I would guess that this won’t be a problem and localhost will do the trick!
Last but not least, append these lines to your /etc/hosts file in order to be able to resolv the hosts locally.
127.0.0.1	nginx-proxy.homelab.home
127.0.0.1	kanboard.homelab.home
We finally have everything ready for our nginx-container!
nginx-proxy docker run
Putting things together, the below command will start an nginx-proxy container that will listen to port 80 and 443.
It will also mount the already created host folders to the container, providing ngxinx with the relevant files needed for our configuration.
docker run --name nginx-proxy \
--hostname nginx-proxy.homelan.home \
--dns-search=homelab.home. \
-p 80:80 \
-p 443:443 \
-v /var/run/docker.sock:/tmp/docker.sock:ro \
-v /docker_mounts/nginx-proxy/html:/usr/share/nginx/html \
-v /docker_mounts/nginx-proxy/nginx.conf:/etc/nginx/nginx.conf \
-v /docker_mounts/nginx-proxy/conf.d:/etc/nginx/conf.d \
-v /docker_mounts/nginx-proxy/ssl:/etc/nginx/ssl \
-v /docker_mounts/nginx-proxy/logs:/var/log/nginx \
-itd --restart always --network customnetwork \
jwilder/nginx-proxy
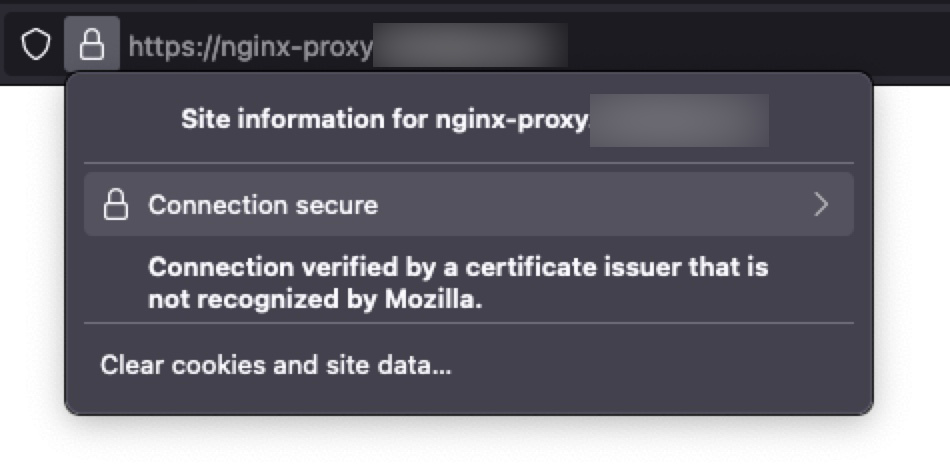
If everything worked as expected, a new container should be running and the our test host nginx-proxy.homelab.home should be accessible and secure.
If you want to do any changes to the custom.conf, for example adding a new server section for a new service, then edit the file locally and then run the below commands that will check the config for errors and reload nginx service.
docker exec nginx-proxy nginx -t
docker exec nginx-proxy nginx -s reload
Troubleshooting
In case the above configuration notes didn’t work for you, then some troubleshooting steps to pin point the issue would be:
- If nginx-proxy container exited with error , you can check the logs for the reason behind it :
docker logs <container_name>. - If the container started correctly, then check the logs found in the mounted logs folder /docker_mounts/nginx-proxy/logs and the
nginx-proxy.homelab.home_ssl_error.logfor errors. - Make sure that host can be resolved and the entries in your hosts file are correct based on your local setup.
- If none of the above fixed the problem, then a number of issues can be the root cause.
Go back and make sure that you followed the steps and have replaced correctly your private auth, folder paths and filenames.
kanboard
Now that we have our nginx-proxy container up and running, we need a service running in port 8081 and this is where kanboard comes into play!
Prerequisites
Kanboard needs a database, so we will use our already configured MariaDB host in order to create the database and user that is going to be used in the docker run command.
In order to connect to the MariaDB docker host, you can use either phpmyadmin GUI or CLI commands both of which choices can be found in my previous article.
After you have successfully connected, run below commands that will create a new database, a new user with a password and will give user full access to the specific database. :
CREATE DATABASE kanboard;
CREATE USER '<KANBOARD_USER>'@'localhost' IDENTIFIED BY '<KANBOARD_PASSWD>';
CREATE USER '<KANBOARD_USER>'@'%' IDENTIFIED BY '<KANBOARD_PASSWD>';
GRANT ALL ON kanboard.* TO '<KANBOARD_USER>'@'localhost' WITH GRANT OPTION;
GRANT ALL ON kanboard.* TO '<KANBOARD_USER>'@'%' WITH GRANT OPTION;
FLUSH PRIVILEGES;Hint: Make sure that you can login with the newly created user and credentials before starting kanboard container, this will save you a lot of troubleshooting time!
It is also a good idea to have our data accessible directly in a host mounted folder so go ahead and create some basic ones (kanboard_ssl isn’t needed in this case as we are now offloading SSL with the help of our ngxinx-proxy container).
mkdir -p /docker_mounts/kanboard/{kanboard_data,kanboard_plugins,kanboard_ssl}kanboard docker run
Now that we have confirmed that the new database is accessible, let’s run the kanboard docker container.
As you can see below:
- we expose port 8081 that will be used by the nginx-proxy to understand where to send traffic when
kanboard.homelab.homeis requested - we mount the needed folders
- we use an environmental varialble in order for kanboard application to be able to connect to the database host, in our case
mariadb. Replace variables below with the username and password configured here!
docker run -d \
--name kanboard \
--hostname kanboard.homelab.home \
-p 8081:80 \
--volume /docker_mounts/kanboard/kanboard_data:/var/www/app/data \
--volume /docker_mounts/kanboard/kanboard_plugins:/var/www/app/plugins \
--volume /docker_mounts/kanboard/kanboard_ssl:/etc/nginx/ssl \
-e DATABASE_URL=mysql://<KANBOARD_USER>:<KANBOARD_PASSWD>@mariadb/kanboard \
--restart always --network customnetwork  -t \
kanboard/kanboard
We are ready to run the docker command that will create our kanboard container.
If no errors occur, then our we should have 3 containers successfully running!
e4904b212567   kanboard/kanboard         "/usr/local/bin/entr…"   8 minutes ago   Up 7 minutes   443/tcp, 0.0.0.0:8081->80/tcp                                                                        kanboard
401b545ab0a8   jwilder/nginx-proxy       "/app/docker-entrypo…"   4 minutes ago   Up 3 minutes   0.0.0.0:80->80/tcp, 0.0.0.0:443->443/tcp                                                             nginx-proxy
ceac6732a896   mariadb:latest            "docker-entrypoint.s…"   4 weeks ago   Up 8 hours   0.0.0.0:61115->3306/tcp, 0.0.0.0:61116->4444/tcp, 0.0.0.0:61117->4567/tcp, 0.0.0.0:61118->4568/tcp   mariadb
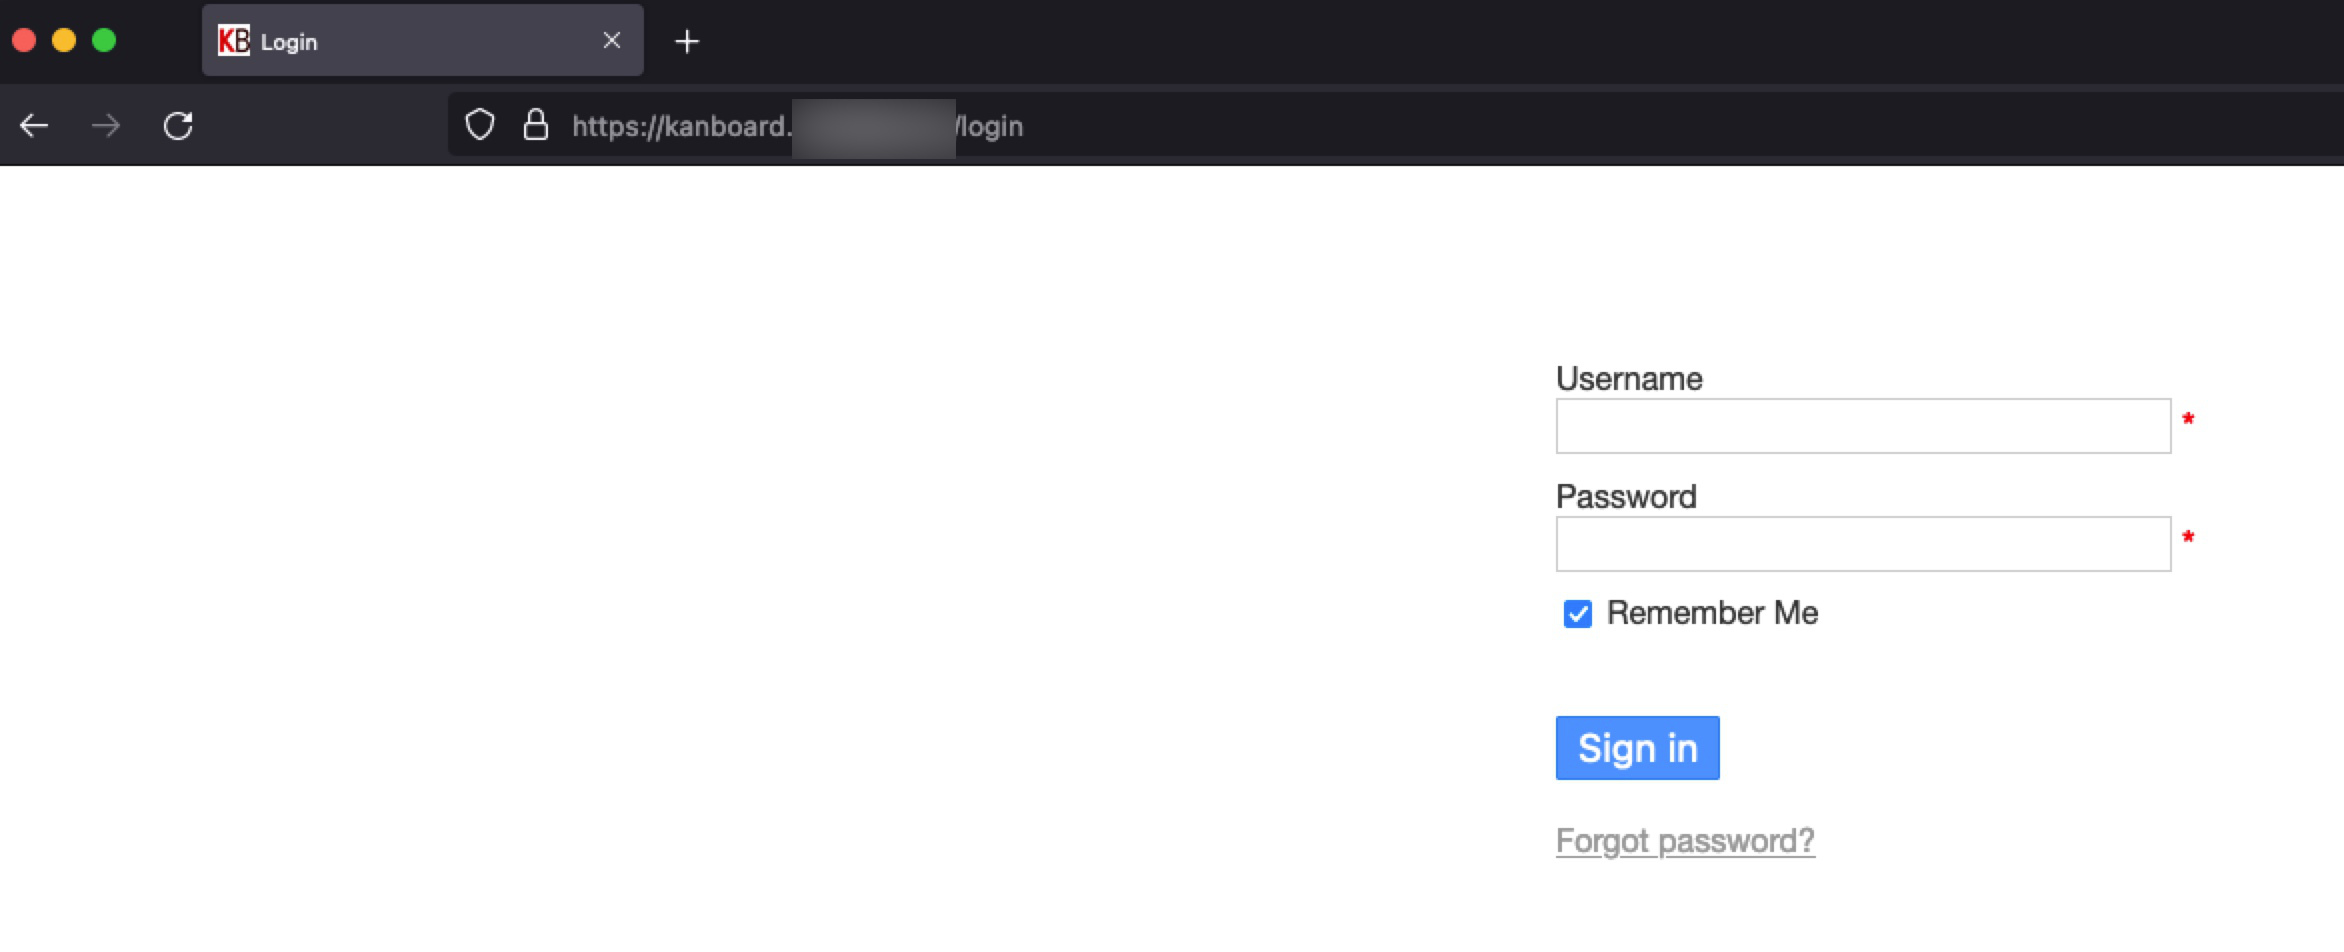
Open a browser and head to https://kanboard.homelab.home , if all the above configuration is correct then we should be able to see our Kanboard login page!
Hint: The default login and password is admin/admin.
There are many guides and videos on how to get started, so Happy Kanboarding! 🥳
Final Words 💡
In this article we saw not only how to configure and start a kanboard container to create projects and track your tasks but also combined it with an nginx reverse proxy that can be used to server more services and projects which are pending in line!
With the use of nginx, we can now choose a port, add a new server block in the custom.conf, as described here, add a hostname or IP to your hosts file and boom, we can access our service with an FQDN which is much easier to remember especially if you don’t use a service daily.
Yes, there is some overhead updating custom.conf and hosts file, maybe at some point I will have to also create a dns container, but on the other hand as services are increasing, running localhost:<port> isn’t so charming!
Thanks for reading, until the next post and as Dr Wallace Breen says in Half-Life 2..
Be wise. Be safe. Be aware!
Subscribe via RSS


