Configure oVirt Engine on CentOS 7 - Part Two
by Zois Roupas
Create your first Virtual Machine and Save it as a Template.
In the First Part of this tutorial, we documented in detail everything needed to setup our oVirt Infrastructure which is ready to host new virtual machines.
I suppose that you had enought time to familiarize yourself with the oVirt GUI by now, so let’s move on by creating our first virtual machine and save it as a template!
After this step we will be finally ready to start our journey of conquering the world with your amazing projects!
Prerequisites 📝
- In order to be able to connect to remote virtual machines and troubleshoot in case any of those becomes unavailable for any reason, we need to configure a Console Client.
I’m using the oVirt Remote Viewer which can be either downloaded from the Official Site for both Linux/Windows or installed via a package manager:
CentOS/Fedora
yum install -y virt-viewerUbuntu/Mint
sudo apt-get install virt-viewerCreate your First VM 🖥️
Fire up your favorite browser, type your oVirt endpoint or IP and login with your admin account. By now I guess you have seen my previous posts on local Certificate Authority and DNS configuration and you are familiar with your secure oVirt Administration Panel!
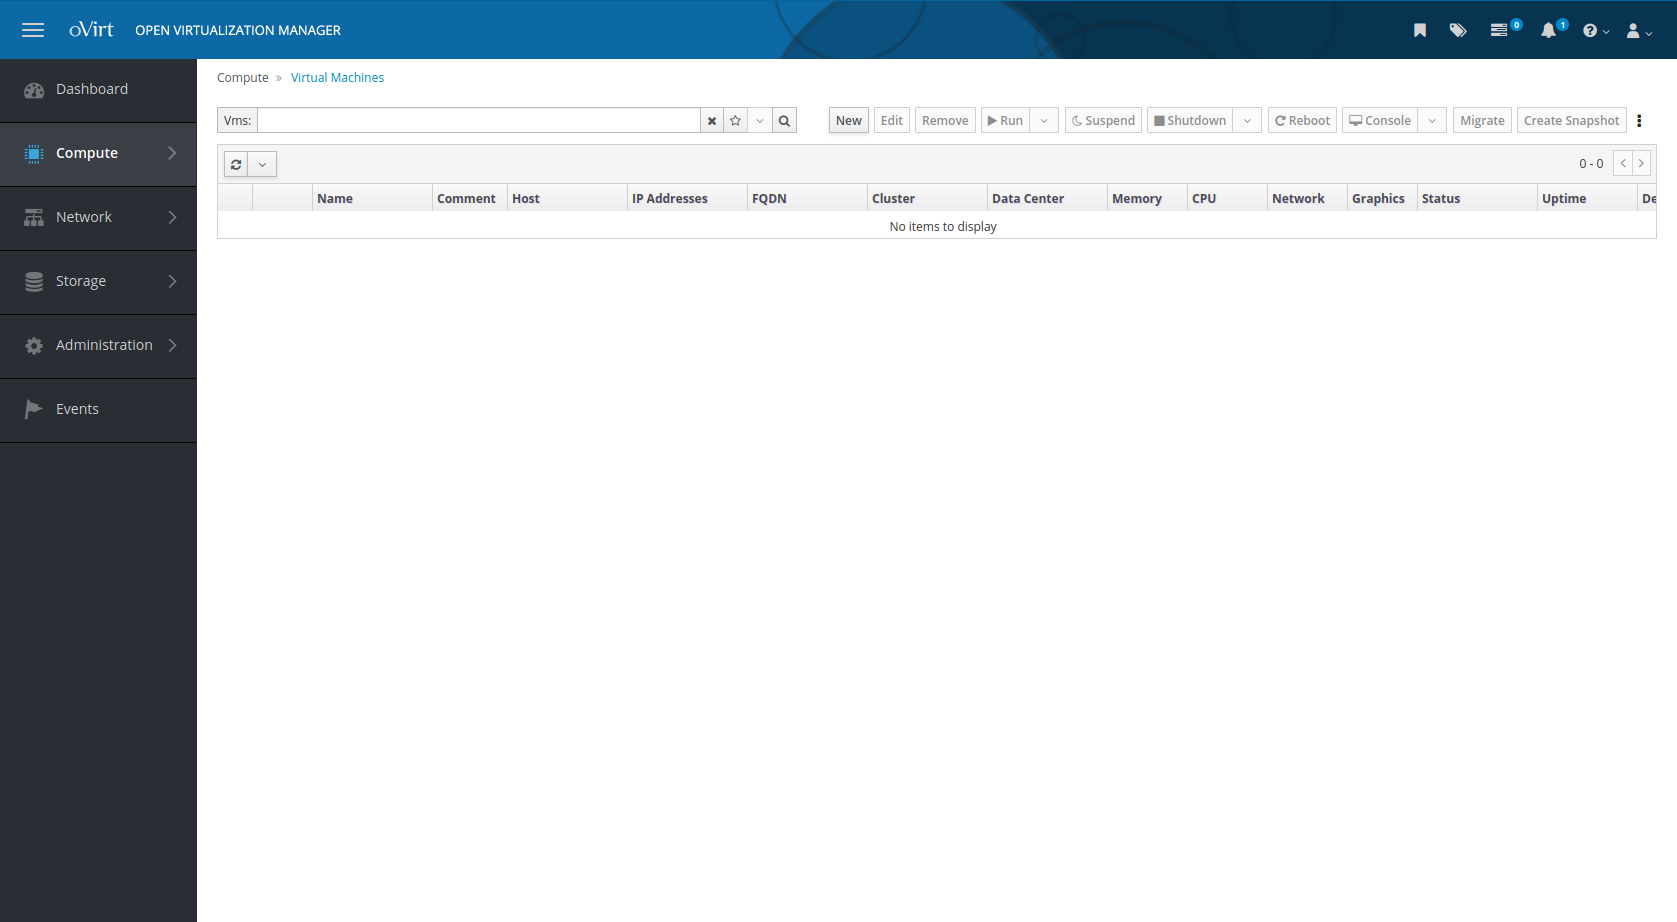
From the left panel go to Compute -> Virtual Machines. As you can see our VM section is empty, so let’s not waste our precious time and create one!
After clicking on New button, we are introduced with the General Options configuration Tab.
Add a Name for your first VM, a Description and at the Instance Images section click on Create option to specify the disk space that is going to be used by your VM.
Choose the disk size in GB and leave the other options with the default values. In the bottom left, choose Show Advanced Options and go to System Tab.
Here we can choose the Memory Size and Total CPU that we want to assign to our virtual machine. We can also choose if we to install from a Template, which is not possible for now as we haven’ configured one yet.
Let me point out that there are a lot of different configuration options that can be changed based on your experience and needs, but I will only document the ones that are important for a basic VM creation.
So the last but not least configuration option is handled in the Boot Options Tab.
Enable Attach CD and choose the ISO file that we have already uploaded and is documented in the Prerequisites Section of Part One.
Click OK and voilà! 🥂
Hm.. I made it seem like a big thing by using a French word, right?
Because it actually was!
Like the time you created your first PC you had to go hunting for a CPU, RAM and a Hard Disk, among other important parts 😛 , now you just had those and needed to assign them to your new VM! Time to install our good old Penguin!
Installing CentOS7 to our VM 🔨
Let’s Run our VM and see what happens!
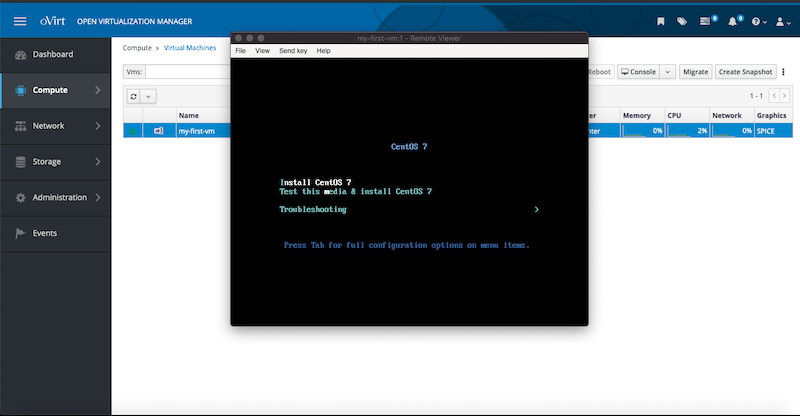
Choose you virtual machine, click on Run and then when Console is available, click on it and choose to open the file with the Remote Viewer, which we have configured in the Prerequisites Section, in order to have a look on what happened when we booted up our VM.
If you followed the steps documented in the previous section then you should be able to start the Centos Installation Process by choosing the Install Centos 7.
Press Enter to start the installation.
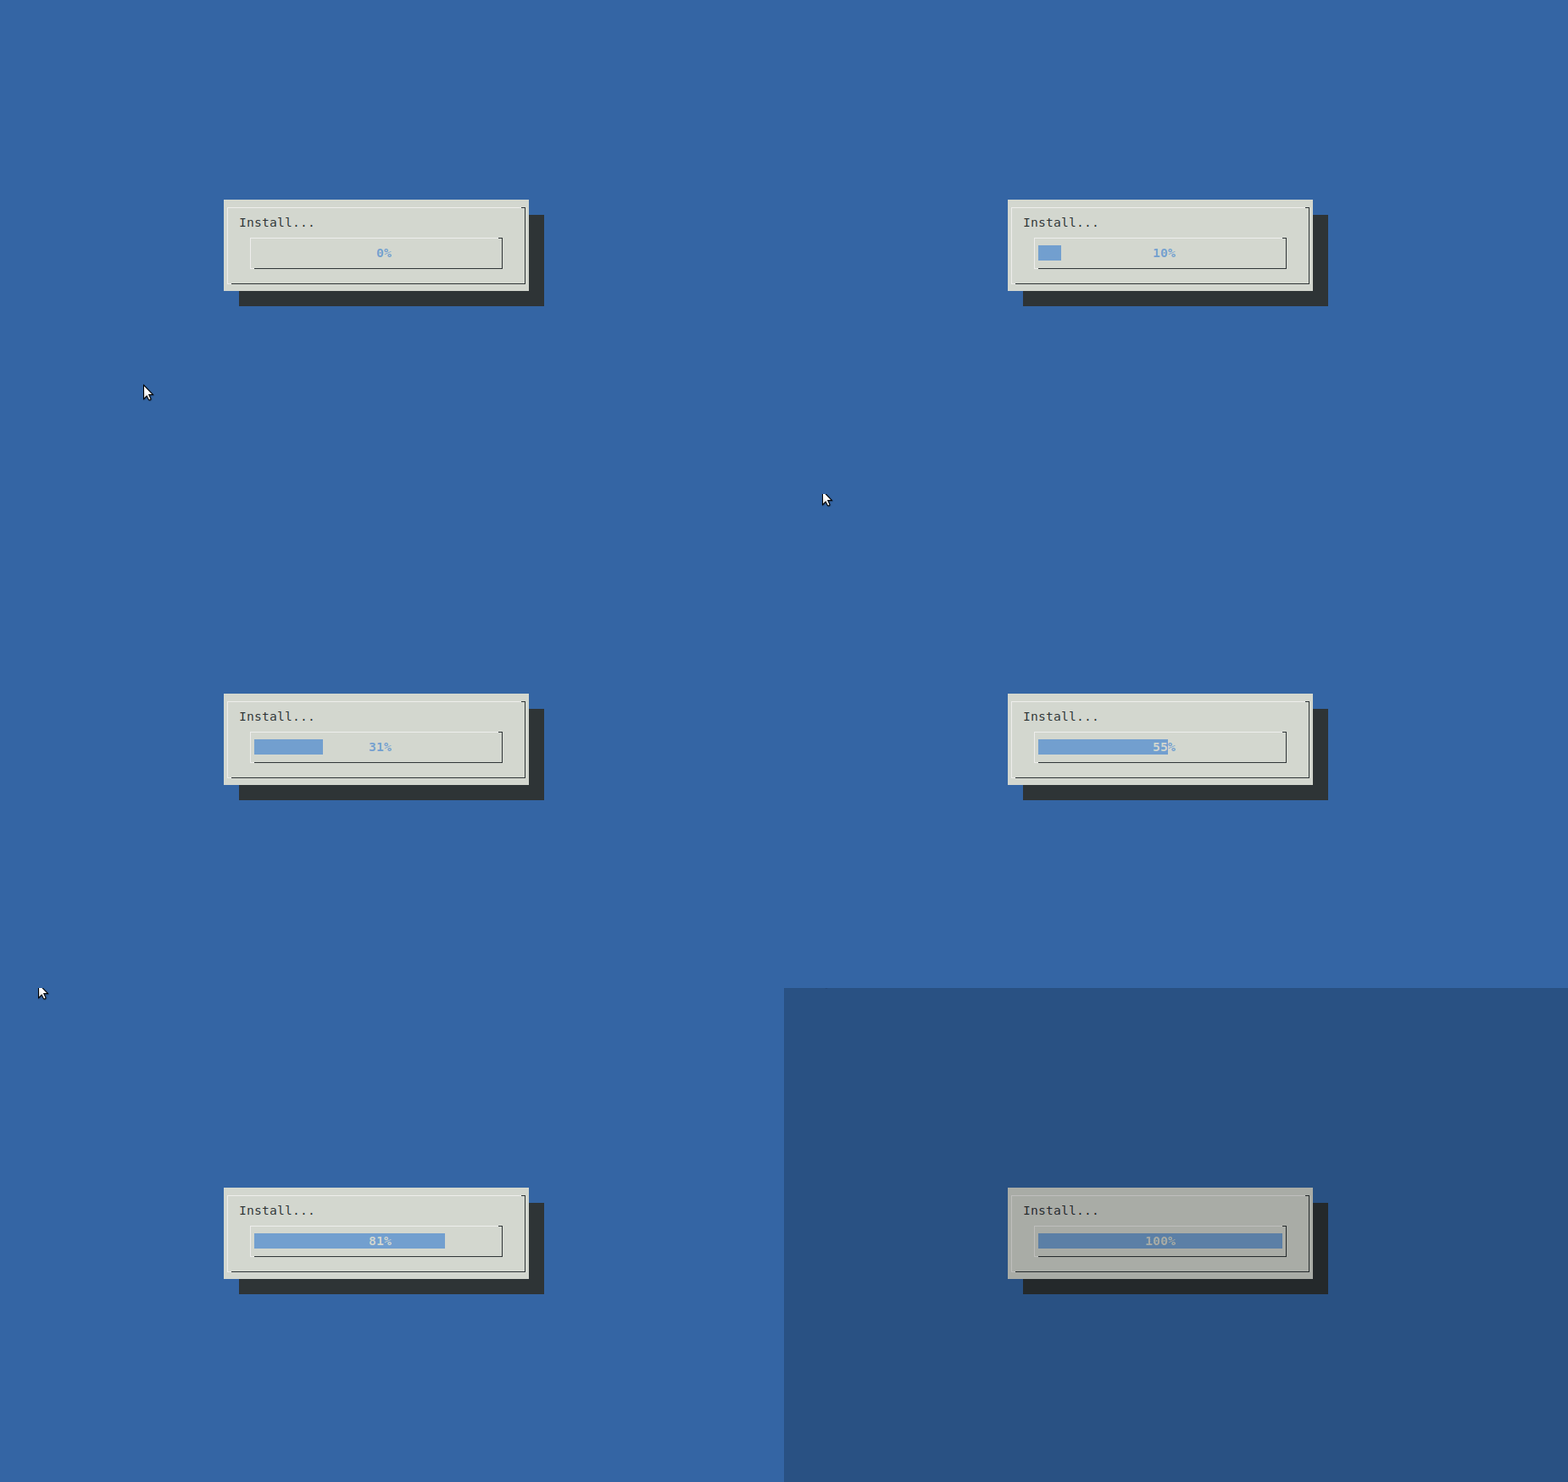
Installation Intermission: Due to the fact that there are a lot of great tutorials out there to help you get a new Centos7 up and running, I will skip the actual OS installation.
Instead here’s a gif that keeps you company during Centos7 installation! ⏱️
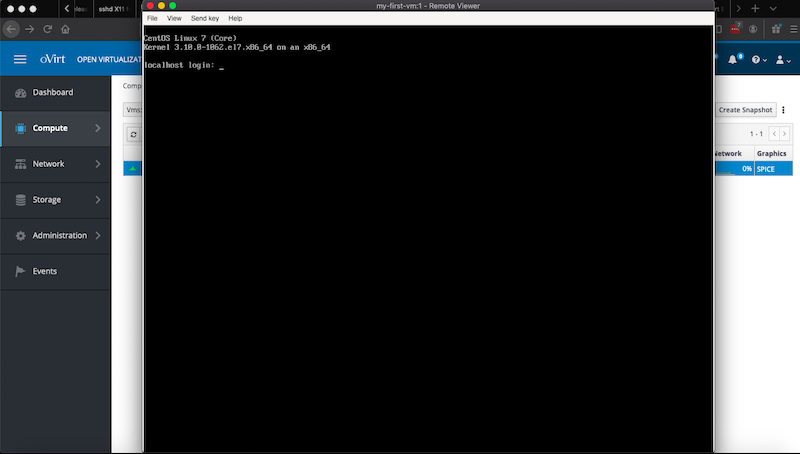
After the installation is finished you will be able to either connect to your VM via SSH or directly from the Console!
Congratulations, your first VM is now a reality! 🎉
Cleanup and Export your VM as a Template 🚿
Templates can save us a huge amount of time in cases where we need to deploy a large number of similar VM’s, especially in a corporate environemt, but they are nothing more than a pre-installed/configured virtual machine with it’s own OS and resources.
I found templates to be very useful in my homelab setup where I’m using the same distribution and basic resources for all my VM’s. Whenever there is a need for a new virtual machine, I clone one from my Centos7 template, change it accordingly and have it ready in some minutes instead of going through all the steps documented in the previous section.
In order to be able to use the template we have to configure and make it a bit generic.
This means that we will have for example to:
- Add a general hostname
- Clear machine’s id
- Remove HDADD value from network device
- Delete any ssh keys and logs
- Unconfigure VM
In this way every time we clone a machine, it will have it’s unique information which we can login and change/update appropriately.
Seal your VM 🛡️
-
Login to your virtual machine
-
Set a generic hostname
:~$ hostnamectl set-hostname localhost.localdomain- Clear machine’s id
:~$ :> /etc/machine-id- Delete any host and root ssh keys
:~$ rm -f /etc/ssh/ssh_host_*
:~$ rm -rf /root/.ssh/
:~$ rm -f /root/anaconda-ks.cfg
:~$ rm -f /root/.bash_history
:~$ unset HISTFILE- Configure Network Interface
This step depends on your configuration as there are different changes based on the IP aasingment. My only note in this section is to remove the HWADDR= line. If you need more information you can check this great Github page or on the official oVirt Documentation.
- Install oVirt agent (Optional)
This is the oVirt management agent running inside the guest (our VM) which supplys run-time data and heart-beat info.
Even though it’s great to have this enabled in every machine, i saw that it needs resources that i didn’t want to spare but if you want to install it here is the way to do so,
:~$ yum -y install epel-release
:~$ yum install ovirt-guest-agent-common
:~$ systemctl enable ovirt-guest-agent && systemctl start ovirt-guest-agent- Set VM to an unconfigured state
This final command will create a file called /.unconfigured and shutwdown the machine immediately. The presence of this file will cause /etc/rc.d/rc.sysinit to act like it is the first time the machine is booting up and thus reconfigure networking/routing, time/date, services and delete all rules from /etc/udev/rules.d/,among other actions! You can check sys-config man page for more info.
:~$ sys-unconfigOur VM is now stopped and ready to be exported!
Export VM to Template 📤
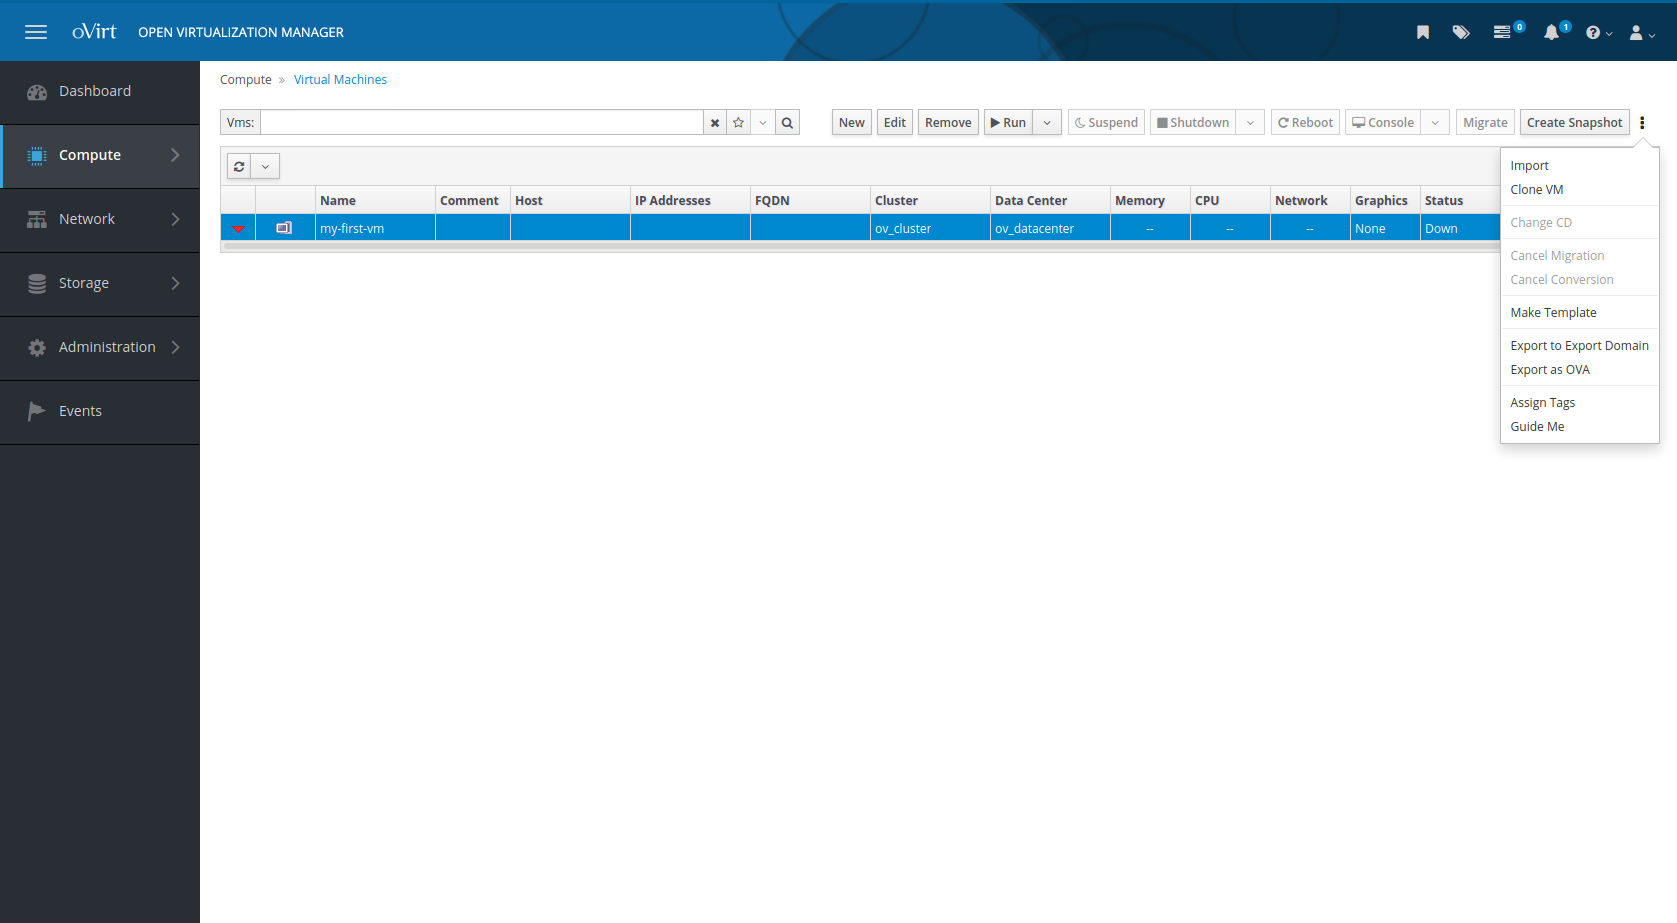
Now in order to export our virtual machine to template, we have to choose it and click on the 3 dots found the upper right corner. Then choose Make Template.
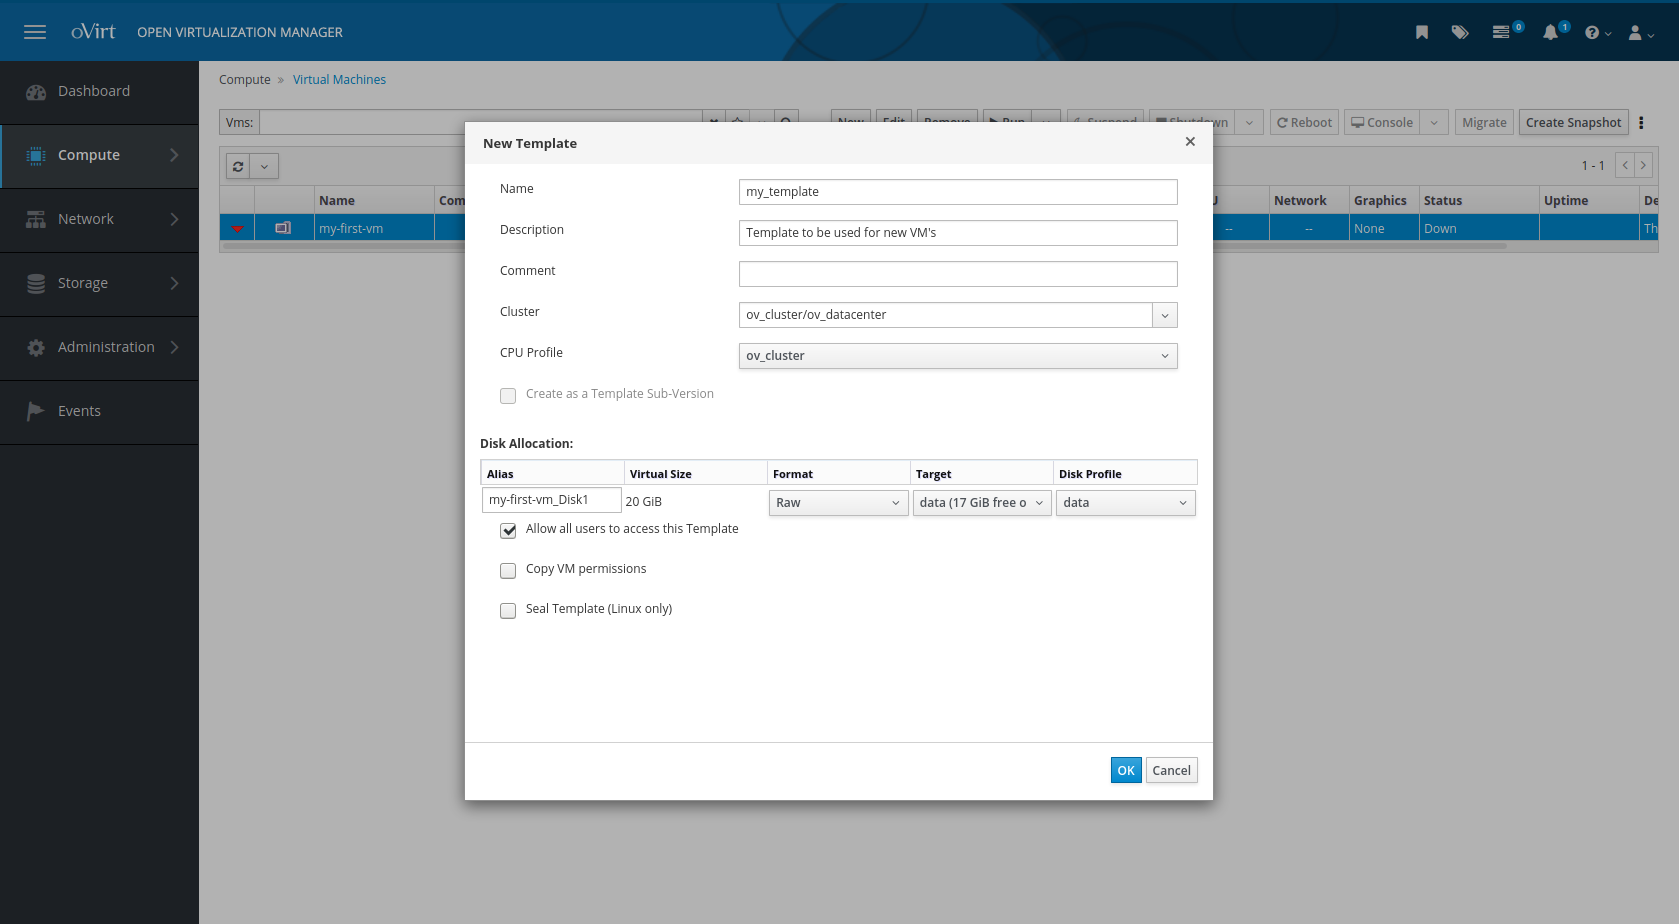
This will open up the New Template configuration where we can add a Name, Description or even change Disk Alias(optional).
Click OK to start templating!
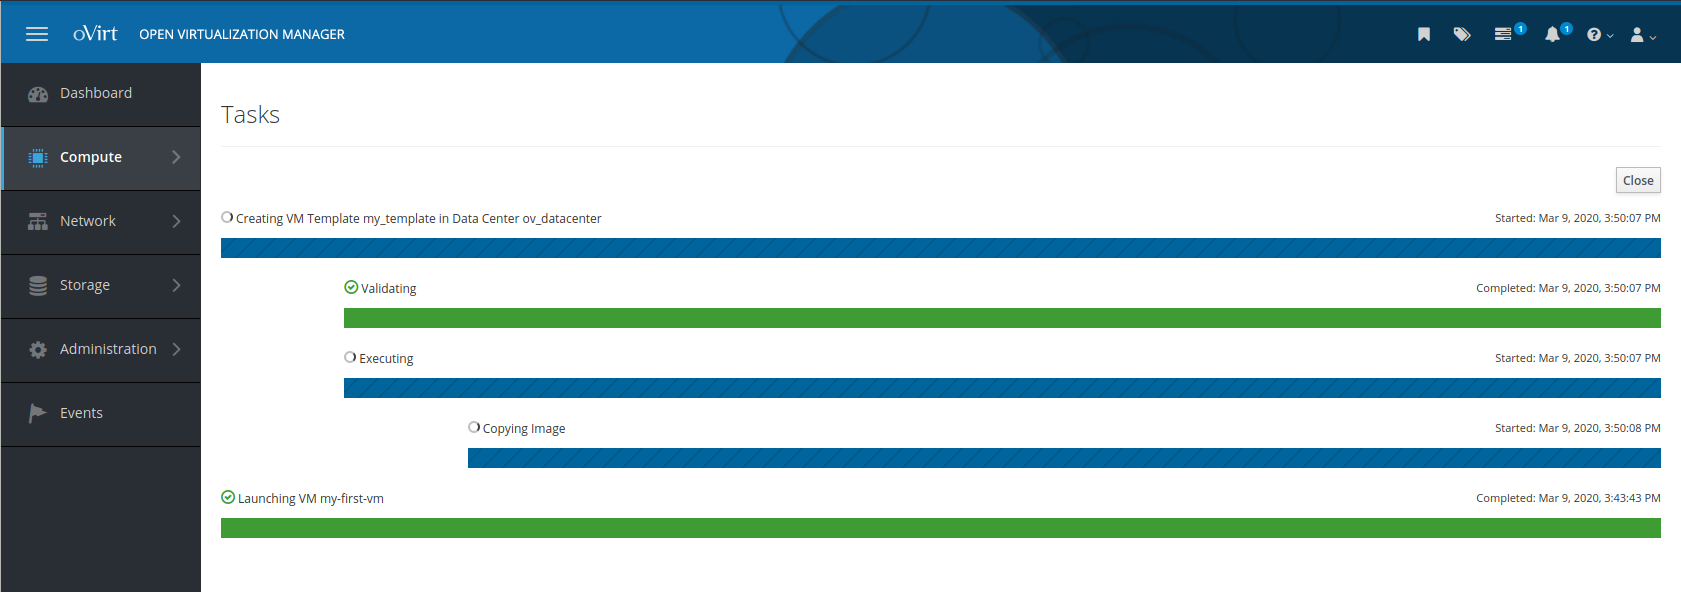
You can check the progress in the Events Tab.
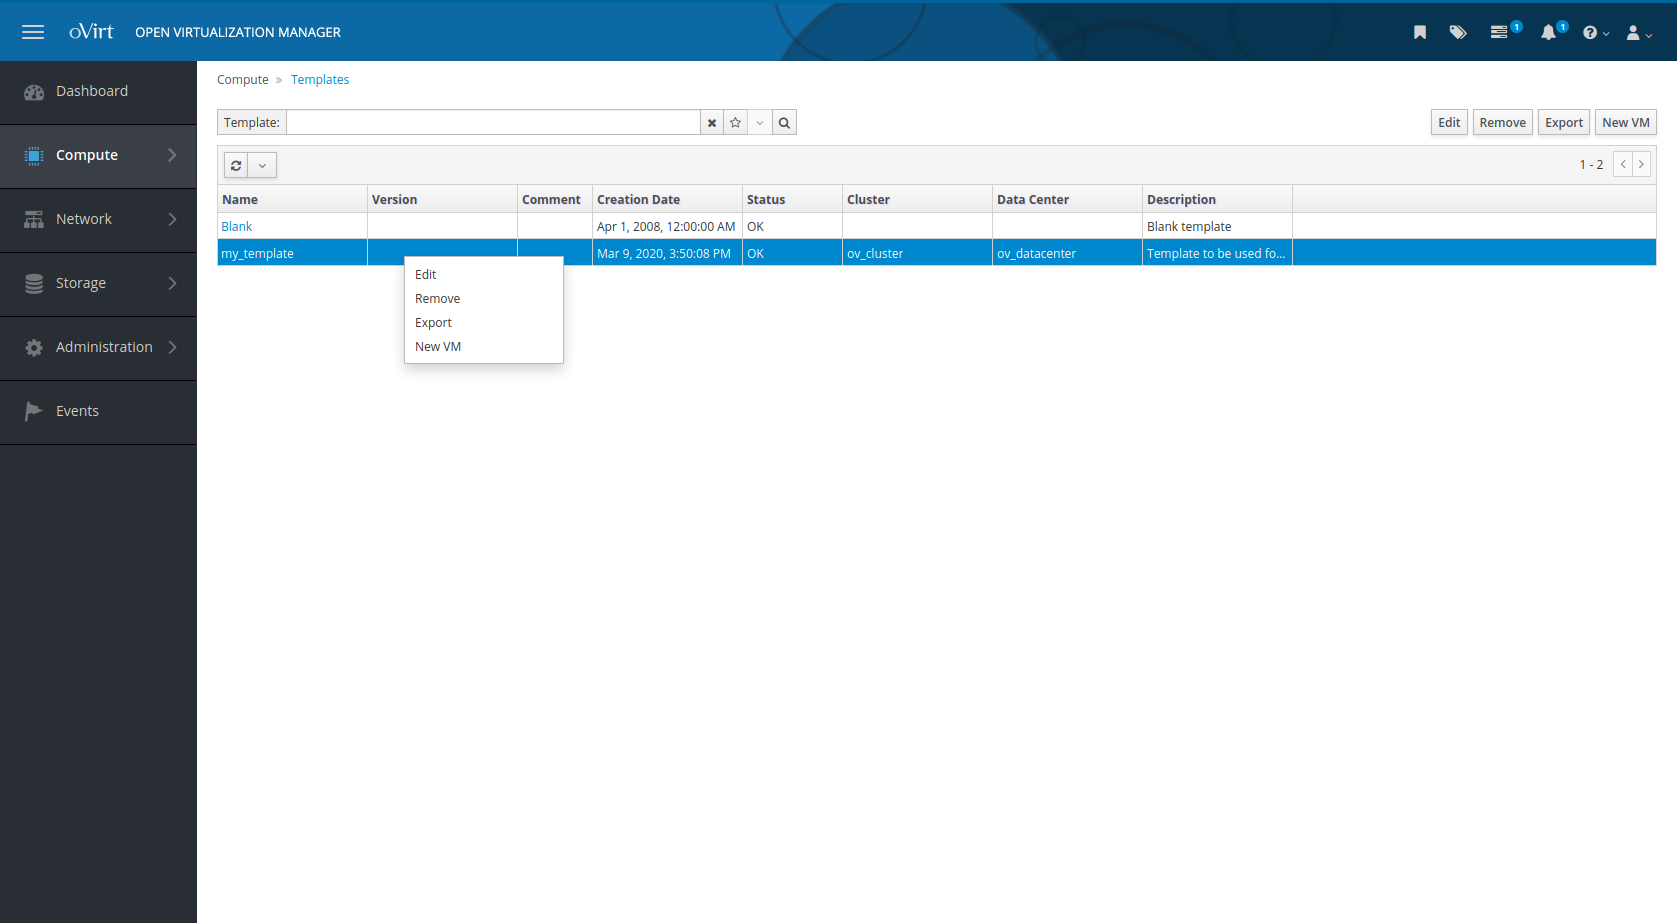
After this task is finished, we should be able to find our new template in Compute -> Templates menu.
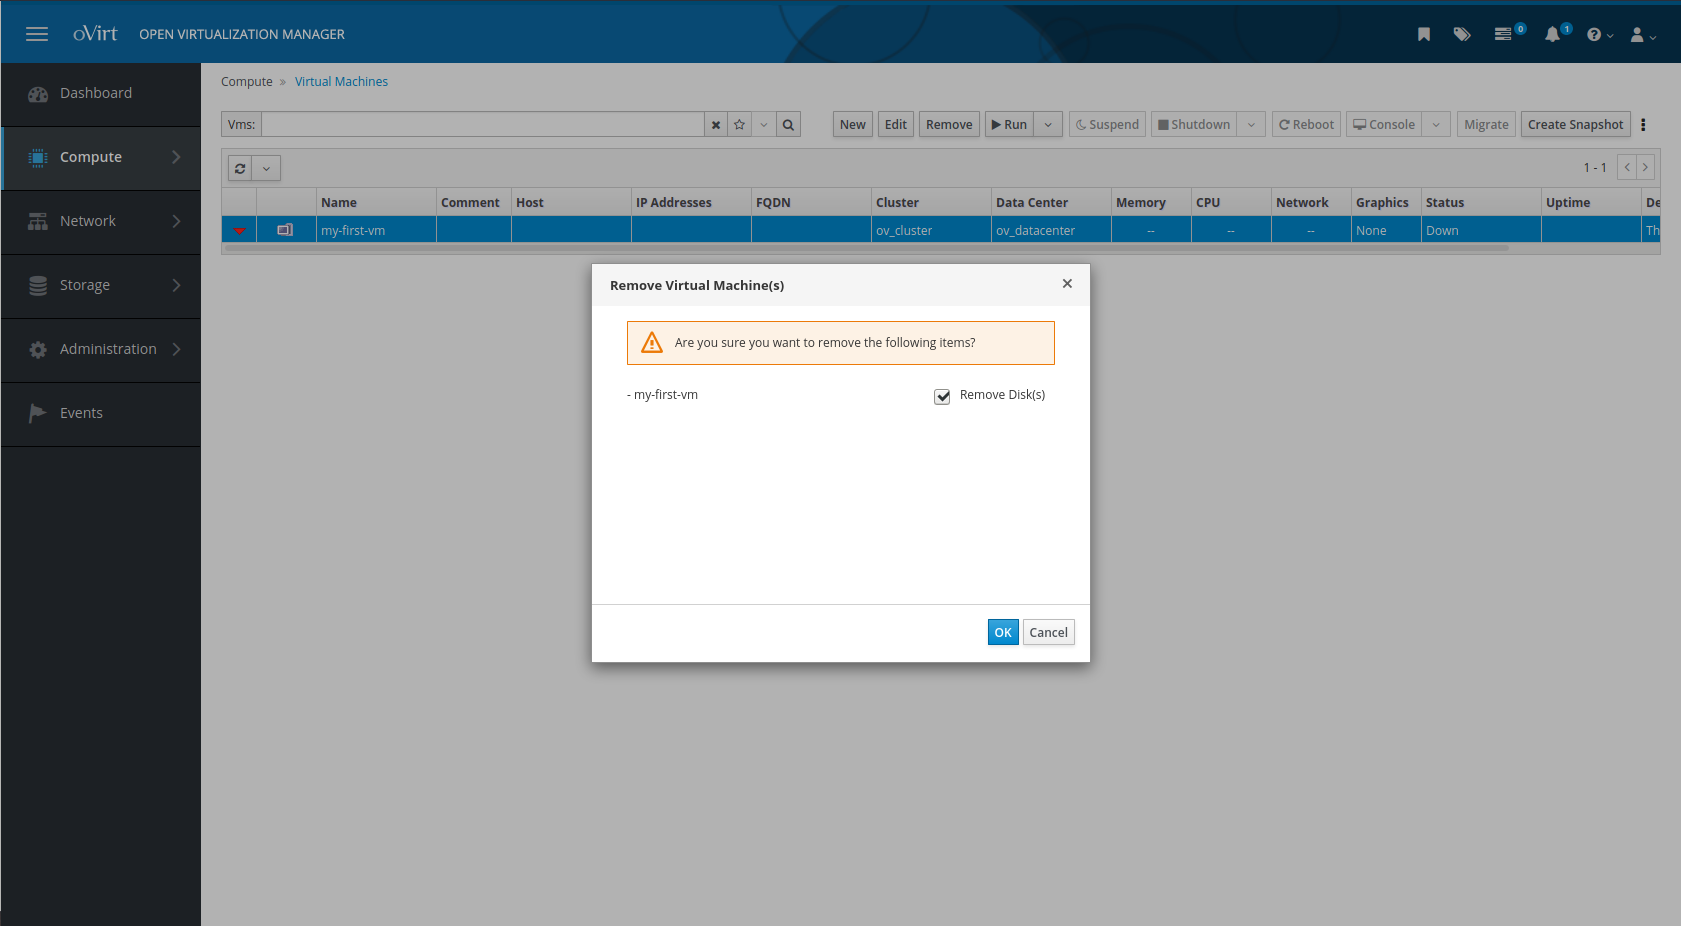
Our template is successfully created and waiting to be used! If you feel safe, just delete the already created VM and recreate, but this time use the template!
Click on New VM , add a Name and click OK!
Final Words 💡
You are finally able to start creating as many VM’s or templates as you like based on your oVirt hardware capacity!
There are so many advantages on having your own homelab to play with and experiment without having to spend a fortune!
I hope those two detailed parts provided a better understanding on which are the most important ones that will help you get started on configuring your own Open Source Virtual Infrastructure and creating your first virtual machine.
In the near future I will also document the cloud-init configuration that I’m using in order to create new virtual machines automatically via Ansible through the oVirt API, so stay tuned! 🎶🎶
Thanks for reading, until the next post and as Dr Wallace Breen says in Half-Life 2..
Be wise. Be safe. Be aware!
Subscribe via RSS


